

If you are deciding where to dry dishes with no counter space, start with a rack that safely spans part of your sink—or a small drying station on a nearby, water-protected surface. Keep enough sink access to wash and rinse. If neither spot works, use a folding rack during a dedicated washing period, then put it away once everything is dry.
The best location is one you can empty easily. A rack that holds every dish you own can become permanent storage on your only prep surface. Plan for a normal meal’s dishes, including the pan, rather than choosing by the largest advertised capacity.
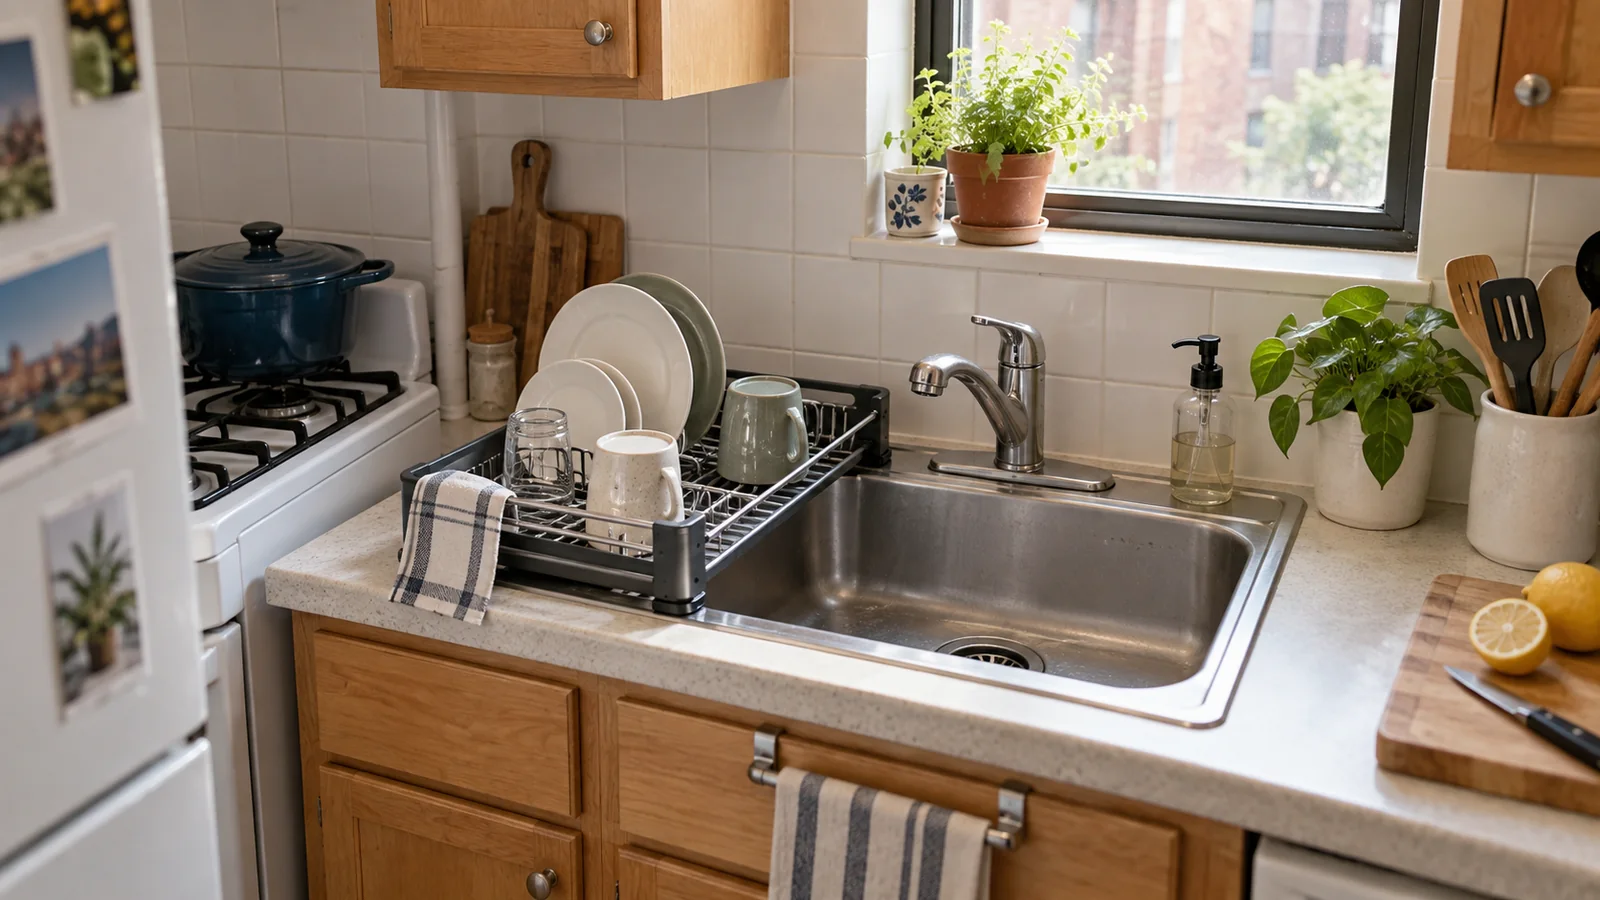
Choose the drying location before choosing a rack
Put your usual clean plate, bowl, glass and pan beside the sink. This is your trial load. Notice which piece takes the most room and whether you need the sink while the others dry. Then compare these options.
| Location | Works best when | Check first |
|---|---|---|
| Rack spanning part of the sink | The sink is wide enough to share | Secure supports, faucet movement and remaining wash space |
| Rack in a second sink bowl | You can reserve that bowl for clean dishes | Splash from dirty dishes and room for large pans |
| Freestanding rack above the sink | There is clear space above and beside the faucet | Feet, cabinet doors, loaded plate height and window access |
| Wall-mounted rack | Mounting is permitted and the wall can support it | Installation instructions and where drips collect |
| Temporary station on a table or cart | You have a stable nearby surface | Water-catching tray, protected finish and a clear route |
| Folding rack on the prep counter | Prep and dishwashing can happen at different times | A place to store the fully dry rack afterward |
On a narrow screen, swipe the table sideways to compare all three columns.
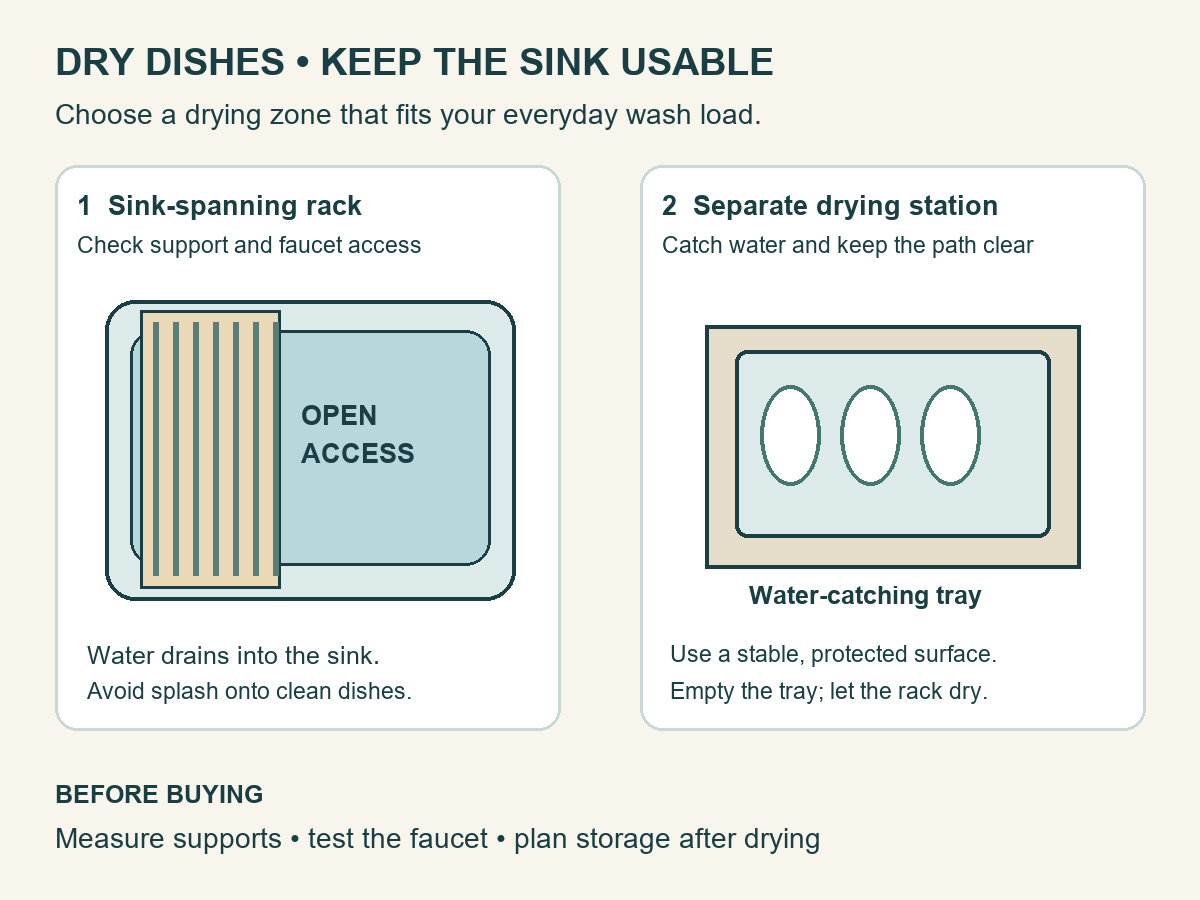
If you want to dry dishes over the sink
Measure the support points, not just the bowl
Measure the opening in the direction the rack will span. Then check the flat rim or ledges where its ends must rest. A rack can be longer than the opening yet still sit poorly on a curved edge, raised lip or uneven surface. Match the maker’s fitting instructions, support requirements and load limit; there is no universal amount of overlap that makes every rack safe.
A roll-up rack is useful only if the usable drying area fits your dishes. Cups may sit comfortably on it while dinner plates need slots or another support. Do not balance plates upright on a flat rack unless it is designed to hold them that way. Check where the handles of pans project.
Keep the faucet and one working area clear
Turn the faucet through its normal movement and pull out the sprayer, if fitted. Check that you can wash your hands, rinse a bowl and reach the drain without lifting a loaded rack. With a single small basin, a rack that covers the whole opening may work only after washing is finished.
A freestanding rack above the sink needs a different check: measure from the counter to the cabinet or shelf above, allowing for plates standing in the rack. Open cabinet doors and the window. Confirm that all feet land on the intended support surface. Avoid choosing one from sink width alone.
If the sink cannot share its space
Use a temporary station with contained drainage
A nearby table can hold a drying rack with a water-catching tray, provided the surface is stable and protected from moisture. Start with something you already own. Check the tray for leaks and overflow, and empty collected water. A towel alone is absorbent; it is not a waterproof barrier for a wood tabletop.
Keep the station out of the path to the refrigerator or exit. Carry small batches of dishes rather than moving a top-heavy loaded rack. If you use a cart, check its footprint and moving route, park it securely before loading it and follow its wheel-lock instructions.
Consider wall storage only if installation is realistic
A wall rack can leave the counter clear, but its mounting and drainage are part of the purchase. For example, IKEA says its HULTARP dish drainer can stand on a counter or hang on a wall and includes a removable water tray. That illustrates the layout choice; it is not a guarantee that it fits your wall, dishes or rental rules.
Check mounting requirements and get permission when your lease requires it. Do not substitute adhesive hooks for the specified fixings. A conventional closed cabinet is not automatically a drying cabinet: a purpose-built installation needs suitable drainage and ventilation.
Make the drying routine fit the space
- Empty the rack before starting. Put dry dishes away so yesterday’s load does not consume today’s drying space.
- Wash in manageable batches. Leave space between items rather than stacking wet bowls together. Give the large pan its own spot.
- Protect the clean zone. Keep clean dishes away from splashes while washing dirty items or cleaning the sink.
- Let the dishes dry before storage. University of Minnesota Extension recommends air-drying on a clean, maintained rack and warns that cloth towels can transfer pathogens back to clean surfaces. See its home-kitchen sink guidance.
- Reset the station. Empty and clean the tray, follow the rack’s care instructions, and let the rack or mat dry before putting it away.
If the drying load regularly exceeds the space, change the wash schedule or divide the load before buying a taller rack. Taller storage may still fail when your largest pan has nowhere to go.
Places to rule out
- The stovetop: do not turn burners into a drying surface. The U.S. Fire Administration’s cooking guidance advises keeping combustible items away from the stove.
- A rack that blocks handwashing: access matters throughout meal preparation, not only when washing dishes.
- An unprotected shelf above electrical appliances: plan where every drip will go.
- A permanently wet mat: follow its washing and drying instructions, and check the surface underneath.
Try one meal before buying
Choose a proposed drying spot and use a paper outline to check the rack’s footprint. Test the faucet, doors and walking route; then plan where the pan and rack will go after washing. Do not test support strength with a paper template.
If drying is only one reason your workspace disappears, the small-kitchen counter-space plan helps you decide which area to clear first.
[…] choosing a rack. An over-sink rack is storage, not automatically a safe cutting surface. Compare dish-drying locations that keep the sink usable before choosing a […]
[…] or reconsider its frequency category. If dishes still occupy the newly cleared area, review the dish-drying options. For the whole-room decision, use the small-kitchen counter-space […]
[…] a drying rack already occupies the sink, decide which item moves and where it goes. The dish-drying layout guide can help you choose a separate drying spot instead of making two accessories compete for the same […]