

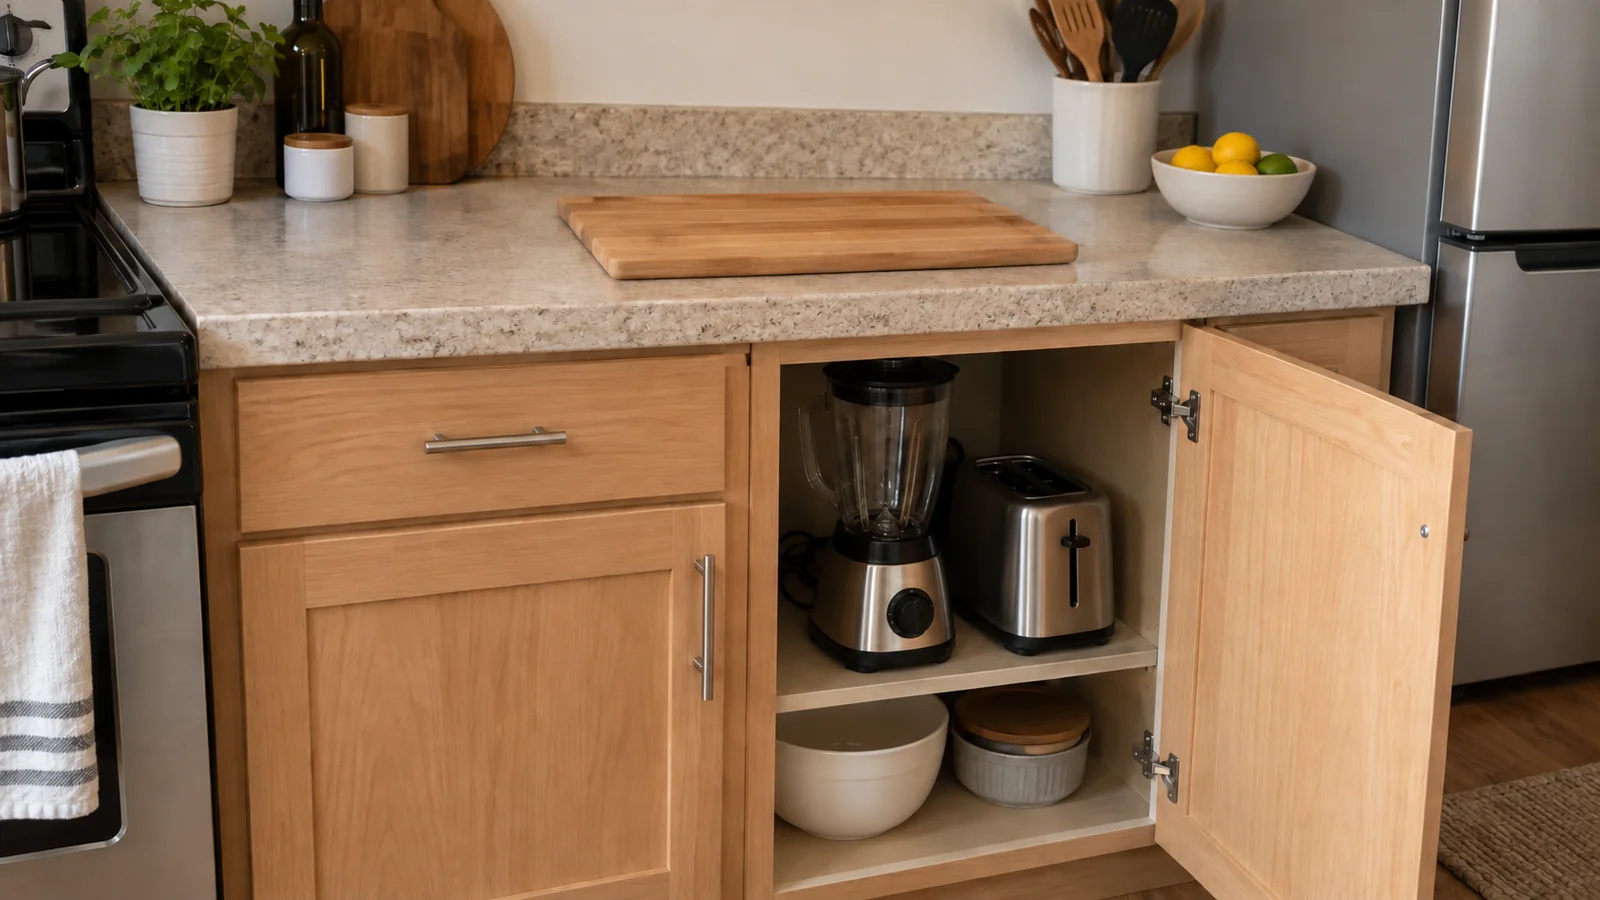
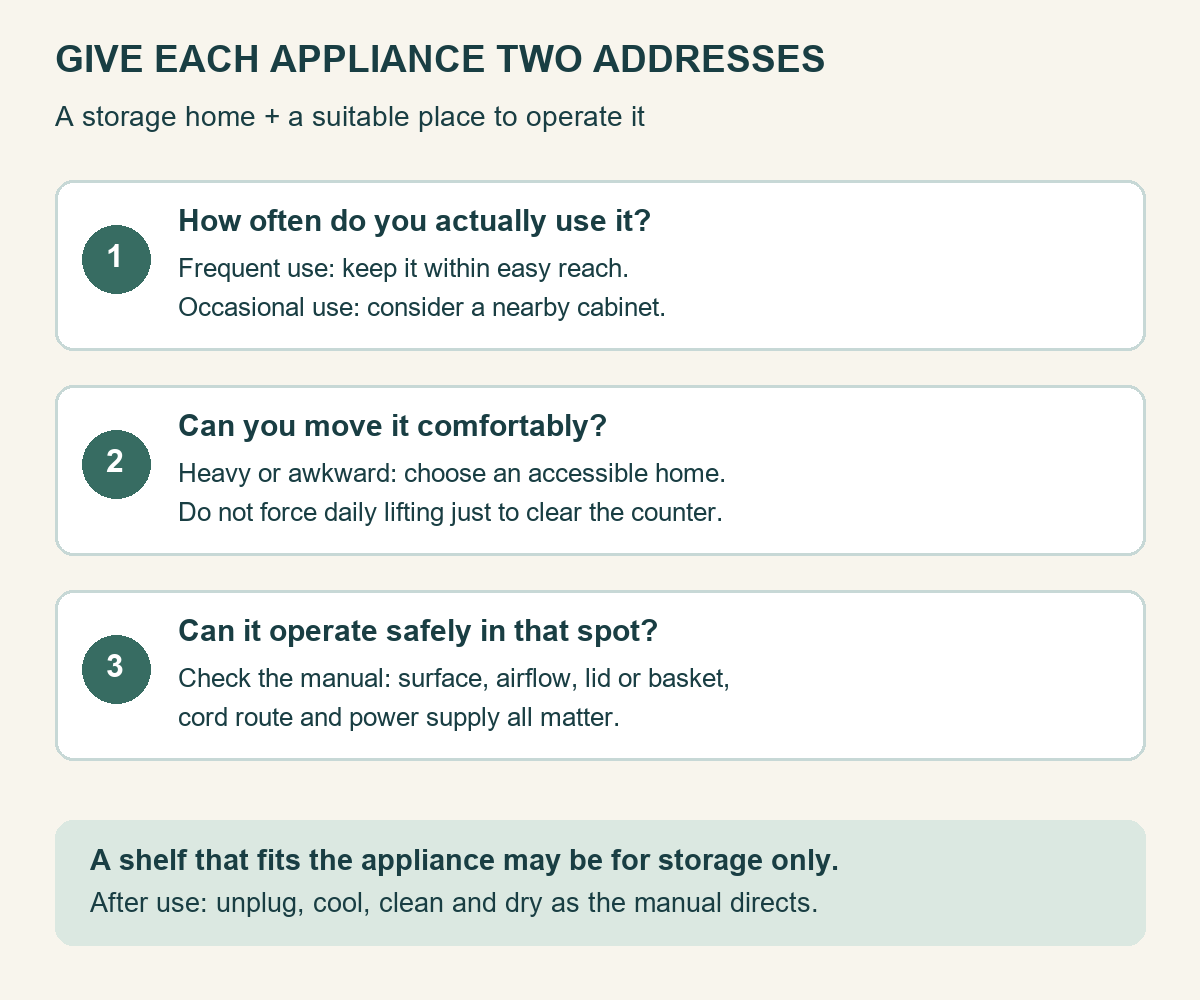
To organize small kitchen appliances, give each one a storage home and a suitable place to operate. Keep frequently used or difficult-to-move appliances accessible, put manageable occasional-use items in a nearby cabinet, and protect one clear prep area. A cabinet that fits an air fryer for storage is not automatically a place to run it.
Begin with the appliances you already own. You may need to rearrange one shelf rather than buy another counter organizer. The useful test is whether you can take an appliance out, use it, clean it and put it back without blocking the rest of the kitchen.
Sort by actual use and the effort of moving
List each appliance and the meals or drinks you use it for. Look back at an ordinary week, then note genuine occasional needs, such as holiday baking. An arbitrary “unused for 30 days” rule can eliminate something useful while leaving everyday clutter untouched.
- Frequent and easy to move: keep it near its operating spot, on the counter if space allows or in an easy-access cabinet.
- Frequent and heavy or awkward: prioritize a stable accessible location. Clearing the counter is not helpful if you must struggle to lift the appliance every day.
- Occasional and manageable: use a nearby cabinet or shelf with a straightforward route to the counter.
- Rarely used or duplicated: consider a more distant dry storage area, or decide whether you still want it. Keep the parts with it.
Frequency is personal. A rice cooker used most evenings may deserve a better spot than a coffee maker used only for guests. Do not organize around someone else’s list of essential appliances.
Reserve prep space before assigning permanent spots
Place your usual cutting board and mixing bowl where you prepare a meal. Keep that working area available while deciding where appliances belong. Do the same for the space you use to set down hot cookware.
A daily appliance can stay on the counter, but it should not force you to chop on the stovetop or carry wet ingredients across the room. If the daily-use group fills every surface, consider which tasks happen at different times and whether two appliances can share one operating spot.
For example, a hand blender stored with its clean attachments can use the counter only when needed. A heavy mixer may stay out while a lighter toaster is stored nearby after it has cooled and been cleaned as directed. Those are layout examples, not rules for every household.
Measure the cabinet opening and the lifting route
Before moving an appliance into a cabinet, record its full height, width and depth in the storage configuration allowed by its manual. Include the handle, feet, cord and any attached parts. Measure the doorway past hinges and center posts; the shelf behind the door may be wider than the opening.
- Check shelf capacity. Use the cabinet, shelf or pullout manufacturer’s load rating. Include the appliance and everything else on that shelf.
- Leave room for your hands. You need to grip and remove the appliance without dragging it over other items.
- Check the movement. Avoid a location that requires reaching overhead with a heavy appliance or bending and twisting awkwardly.
- Choose the landing spot. Clear it before lifting. Do not carry the appliance by its cord or an attachment unless its instructions identify that as a carrying point.
For a stand mixer, KitchenAid’s storage guidance recommends keeping it upright and discusses lower cabinets, pullout drawers and dedicated lifts. It also emphasizes checking cabinet weight ratings and space around an extended pullout. A lift requires a compatible cabinet and installation; it is not a universal renter-friendly fix.
Check the operating space separately
Read the manual for the exact model. Record the required surface, airflow clearances, permitted surroundings and power connection. Then add the room needed to open the lid, tilt the mixer head, pull out an air-fryer basket or remove a water tank.
A tidy photo showing an appliance under a low shelf does not establish that the arrangement is suitable during use. Move a stored appliance to its approved operating position before plugging it in. Do not run a heat-producing appliance inside a closed storage cabinet; an open cabinet door alone does not prove that ventilation and clearances are adequate.
The U.S. Fire Administration advises unplugging small appliances when they are not in use and avoiding overloaded outlets and power strips. Plan the layout around suitable outlets and the appliance’s instructions. If the arrangement needs a new outlet, have that addressed properly rather than routing a cord across the sink or walkway.
Keep attachments together without making a heavy bundle
Use a small labeled container or the maker’s storage case for each appliance’s clean, dry accessories. Put sharp blades in the protective storage specified by the maker, not loose where someone reaches for a lid. A nearby accessory bin can be easier to handle than lifting the appliance and all its parts as one unit.
Use built-in cord storage when provided. Keep the cord from snagging in a drawer or being pinched by a cabinet door. Follow the manual before removing, stacking or storing components on their sides.
After use, unplug as directed, let hot parts cool, clean and dry the appliance, and return it to its assigned space. Store only when its care instructions allow it. Do not hide a still-hot appliance simply to make the counter look finished.
When a cart or appliance garage helps
A cart can move stored appliances off the counter, but check its shelf openings and load limits first. Operating an appliance on it also requires suitable stability and all the appliance’s placement requirements. Use the cart measurement checklist before assuming unused floor space can become an appliance station.
An appliance garage conceals equipment while still occupying counter space. It may improve appearance without giving you more room to prep. Evaluate it as storage first, and get the model-specific installation and operating requirements checked before treating it as an enclosed working station.
Try a one-week reset
Move one manageable occasional-use appliance to its new home. Keep its accessories together and leave its former counter spot clear. Over the next week, notice whether retrieving and returning it is easy and whether the freed space actually helps you cook.
If the appliance keeps returning to the counter, change the storage location or reconsider its frequency category. If dishes still occupy the newly cleared area, review the dish-drying options. For the whole-room decision, use the small-kitchen counter-space plan.
[…] an appliance, follow both sets of instructions. The appliance storage and operating-space guide separates the checks. The cart needs to support the load and the appliance needs its specified […]
[…] a sink or walkway. Check each appliance manual for placement and ventilation requirements. Use the appliance organization guide to plan storage and operating space […]